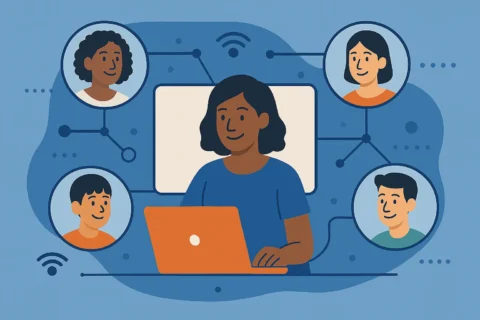
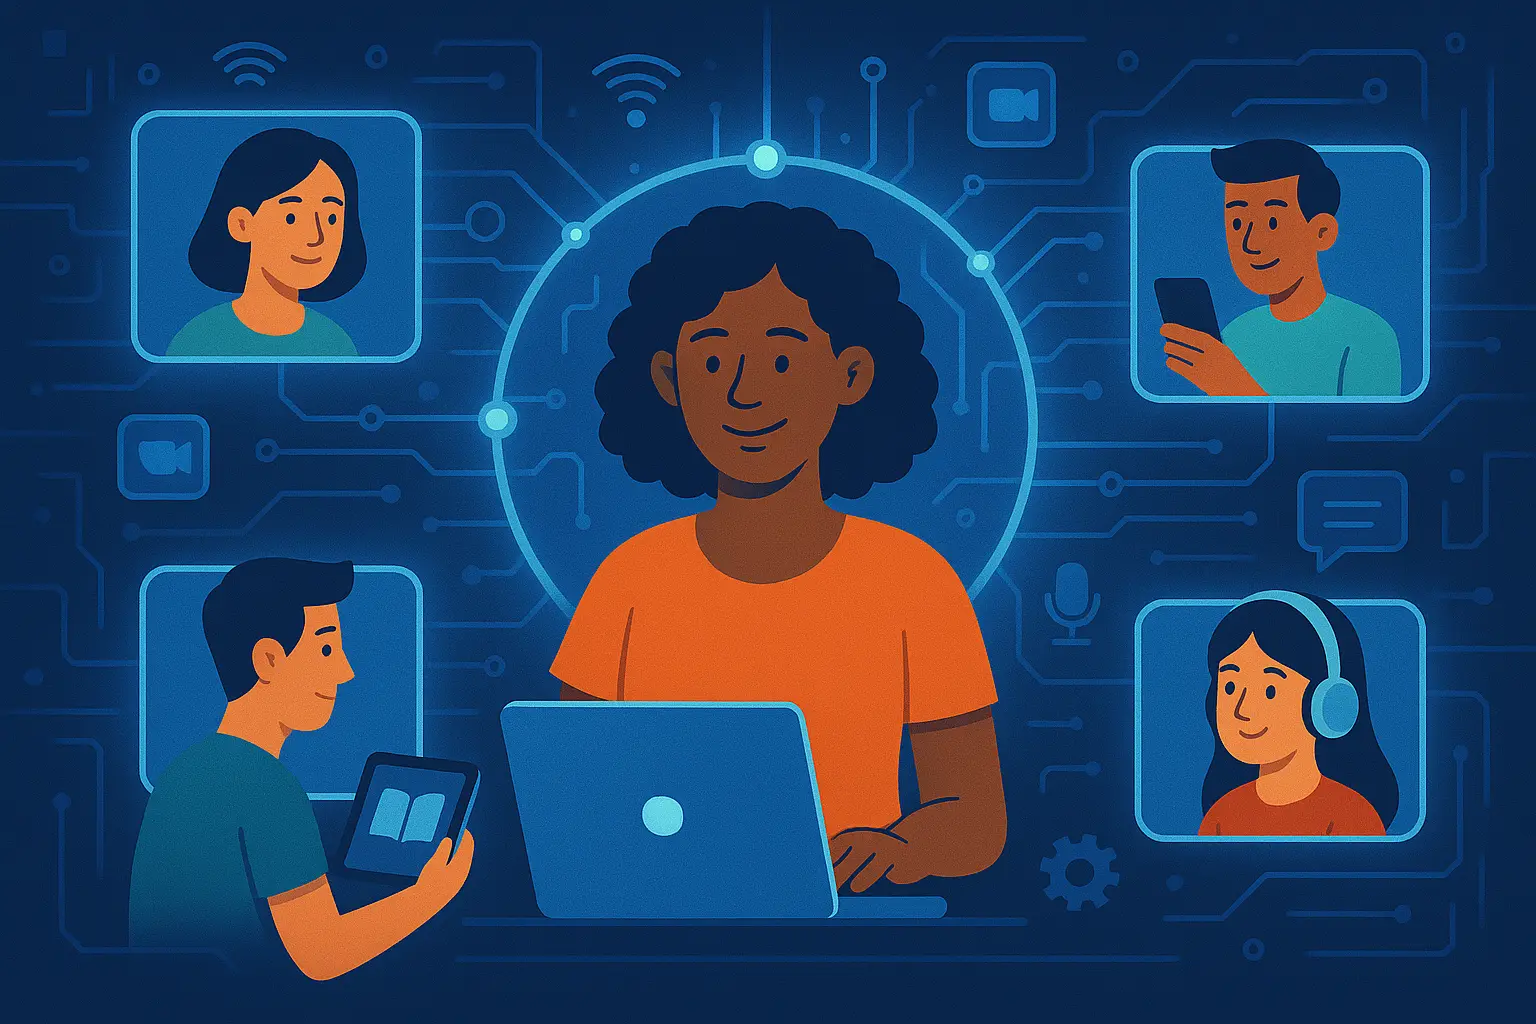

Teaching English online is no longer a stopgap – it’s become a central part of English language education. Platforms, tools, and methods have matured, and many teachers are finding long-term opportunities online.
But it’s not just about moving your lessons onto Zoom and hoping for the best. The fundamentals don’t change – clear objectives, engaging activities, constructive feedback – but how you deliver them does.
And here’s a key point to remember: much of what you already know from classroom teaching transfers online. Lesson stages, interaction patterns, and clear feedback still matter. The challenge is adapting them for a different space and making deliberate choices to keep lessons structured and interactive.
This guide brings together proven strategies, useful tools, and practical tech advice you can apply straight away. It’s based on my 20+ years of classroom and teacher training work, together with my own experience teaching English online and supporting teachers as they move into digital classrooms.
Lesson structure and delivery
Students learn best when they know what to expect. Online lessons work well when there’s a clear shape, smooth transitions, and no confusion about what’s happening next. Open lessons consistently, signpost each stage, and make your instructions both audible and visible so nobody gets left behind.
- Start with a routine:
Begin every lesson the same way – a short check-in or warmer, an outline of objectives, then into the main stages. This consistency helps students settle and gives the lesson a clear rhythm. - Share objectives clearly:
At the start, state what students will achieve and write it in the chat or on a slide: “By the end of today’s class, you’ll be able to…”. Return to these at the end to highlight progress. - Talk students through transitions:
Silence online can feel like something’s gone wrong. Narrate what you’re doing: “I’m about to share my screen…” or “You’ll see a breakout room invitation in a moment.” It reassures students that everything is on track. - Give instructions in two ways:
Say them aloud, and then paste simple, numbered steps into the chat. This helps latecomers or anyone who missed something stay with the group. - Allow extra time:
Online tasks almost always take longer. Build in thinking time, expect a short delay when moving students into breakout rooms, and don’t rush feedback.
Tip: If you can, set up a dedicated “classroom” space at home. It gives you consistency, helps you separate teaching from personal time, and makes lessons feel more professional.
Managing engagement and participation
Without the buzz of a physical classroom, it’s easy for online lessons to feel flat. Your job is to design interaction and keep the energy up, sometimes by being a little larger than life, and always by making participation feel expected and safe.
- Bring energy:
A normal speaking voice and expression can feel a bit flat on camera. Try smiling more than you would in person, vary your tone, and use slightly bigger gestures than usual – it helps you come across as more lively and approachable online. - Use names often:
“Great point, Maria.” “David, could you read number three?” Using names often makes the lesson feel more personal and helps keep everyone involved. - Keep track of who’s spoken:
Keep a class list and note who has spoken. Draw in quieter students gently, offering alternatives like typing in the chat or using emoji reactions. - Start with a quick check-in:
A quick “How are you?” or “What’s one thing you did this weekend?” builds rapport and ensures everyone is present before you begin. - Mix up interaction styles:
Switch between voice, chat, polls, and reactions. A bit of variety keeps the lesson lively and gives different students different ways to contribute. - Agree on class norms early:
In the first lesson, set some simple ground rules together – cameras on if possible, mute when not speaking, arriving on time. Reinforce these kindly and consistently. - Support anxious learners:
A quick private chat like “All good?” or “Need any help?” can make a big difference if someone’s struggling with nerves or tech. - Minimise distractions:
Suggest full-screen mode, closing unnecessary tabs, and silencing phones. Ask students to mute when not speaking to cut background noise.
Tip: Online, think of engagement as something you engineer. Use names, vary activity types, and narrate transitions (e.g. “I’m about to share my screen…”) so learners never feel lost.
Games, tools, and interactive activities
Tech can really lift an online class, but it should support the language practice rather than steal the spotlight. Often one or two well-chosen tools per lesson is plenty. The aim is still real communication between students, not just clicking around in apps.
- Vocabulary and grammar practice:
Quizlet is great for flashcards and short reviews between lessons. For a burst of energy, Kahoot or Quizizz work well as quick revision quizzes – students usually love the competitive element. - Polls and brainstorming:
Mentimeter lets you make word clouds, polls, or rankings in real time, which can spark a lot of discussion. It works especially well with teens and adults. - Quick checks:
A simple end-of-lesson question works well to see what stuck – for example, “Write one new word you learned today” or “Give me a sentence with the past tense.” You can collect answers in the chat, or with a short Google Form or Typeform if you want to review them later. - Classroom games:
Adapt classroom favourites – “I spy” using webcam backgrounds, “Guess Who” with pictures, zoom-in image reveals, or even simple online board games via screen share. These work with adults too, as long as there’s a real language purpose.
Breakout rooms and group work
Breakout rooms are the online version of pair and small group work. They give students space to talk more and use the language actively, but they only really work if the setup is clear and you bring the activity back together purposefully afterwards.
- Good uses:
Role-plays, information gaps/jigsaws, collaborative writing in shared docs, and preparing short presentations all work well in small group breakout rooms. - Monitoring:
Drop into each room briefly to see how things are going, answer questions, or note down useful language to highlight later. Try not to stay too long, so students don’t feel put on the spot. - Don’t overdo it:
If every task goes into a breakout room, they lose their effect. Keep them for the activities where students really need to interact with each other. Switch partners regularly so they don’t always work with the same person. - Make the setup crystal clear:
Post the task steps in the chat (e.g. 1. Ask three questions. 2. Write down your partner’s answers. 3. Be ready to share one thing when you come back). Set a time limit and send a one-minute warning before closing rooms. Expect a short pause while students move in and out. - Always follow up:
When you bring everyone back, ask for quick summaries or examples. Praise good language and clear effort, and gently correct common mistakes. Without a short feedback stage, breakout work can feel a bit pointless.
Feedback and correction
Feedback keeps learners motivated and shows them where they’re improving. Online, you’ve got a few extra channels you can use, which means you can give feedback without breaking the flow of the lesson.
- Live correction:
Correct gently in the moment if it won’t interrupt fluency, or make a note of mistakes and bring them up afterwards in a short focus stage. - Written comments:
Use the chat or a shared doc to highlight good examples, point out small errors, or give bite-sized explanations students can revisit later. - Peer feedback:
Encourage students to respond to each other – asking follow-up questions, rephrasing ideas, or helping with small corrections. This builds awareness and confidence. - Show progress over time:
Keep vocabulary lists in Quizlet or shared docs, and save writing drafts in Google Docs so learners can look back and see tangible improvements week by week.
Hardware and teaching space
Your setup doesn’t need to be expensive, but it does need to be reliable. Clear sound, good lighting, and a calm space all help you come across as professional and keep lessons running smoothly.
- Device:
A laptop or desktop is easiest for handling video, screen share, and multiple tabs. Tablets can work, but juggling everything is trickier. - Internet:
Aim for 10+ Mbps up/down; Ethernet is more stable than Wi-Fi. Keep a mobile hotspot or second connection as backup (some regions/platforms have stricter connectivity rules). - Audio:
A simple headset with a built-in mic is the single best upgrade you can make. It cuts out background noise and makes you sound clear. Avoid built-in laptop mics if you can. - Camera and lighting:
Put your webcam at eye level and light your face from the front (a lamp or natural light from a window works well). Students will connect more easily if they can see you clearly. - Teaching space:
Choose a quiet spot with as little clutter as possible. A plain background usually looks better than a busy virtual one. Keep notes, props, and anything you need for the lesson within easy reach.
Core platforms
You only need one main platform to run your lessons. Pick the one that suits you and your students best, and then get comfortable with it so everything feels smooth.
- Zoom:
Probably the most popular choice in ELT. It has reliable breakout rooms, screen sharing, waiting rooms, and built-in polls. - Google Meet:
Simple and clean, with no software to install. It links nicely with Gmail and Google Calendar, so scheduling is easy. - Google Classroom:
Useful if you want a place to share materials, post homework, and give feedback outside of live lessons.
Extra tools for engagement and collaboration
Once you’re comfortable with your main platform, you can add one or two extra tools to make lessons more interactive. The trick is to use them consistently, so students know what to expect.
- Google Docs / Google Slides:
Great for group writing, editing tasks, or shared gap-fills. Everyone can work at the same time while you keep an eye on progress. - Padlet:
A visual board where students can post short texts, images, audio, or video clips. It’s good for brainstorming, collecting ideas, or sharing homework in one place. - Miro:
An online whiteboard that’s flexible for brainstorming, timelines, or group mind maps. Students can move sticky notes around, draw, or write together. - Canva Whiteboard:
Template-based and very visual – perfect for making diagrams, charts, or layouts, especially if your students like a bit more structure. - WebWhiteboard:
Quick and simple – no login needed. Ideal for all your whiteboard work in a class. - Whiteboard.fi:
Gives each student their own private whiteboard that only you can see. Useful for quick checks or practice tasks.
Tip: Don’t overload yourself with apps. Choose one or two that you like and build them into lessons consistently.
Technical best practices
A few small habits can save you a lot of stress. With a little preparation and a simple backup plan you can avoid most of the common tech headaches.
- Know your platform:
Practise screen share, polls, breakout creation, and sharing system audio before your first class. Show students the basics on day one – it pays off later - Pre-class setup:
Check your audio and video, open any links or slides you’ll need, and keep backup copies ready to paste into the chat or email if needed. - View settings:
Use gallery view for discussions so you can see everyone, and pin or spotlight yourself when you’re giving input so the focus stays on you. - Sharing media:
If you’re playing a video or audio clip, make sure you select “share computer sound” and test the volume first so you don’t waste lesson time troubleshooting. - Have a plan B:
Keep a WhatsApp group or a backup meeting link ready in case something goes wrong. Have a PDF or text version of tasks you can send quickly. And don’t be afraid to fall back on a no-tech option like “write three questions for a partner.” Students appreciate knowing you’re prepared. - Pacing:
Build in a bit of buffer time – online tasks often take longer than you expect. Check in often, and never assume students see exactly what you see on screen. - Go easy on new tools:
Introduce one app at a time and stick with it until everyone’s comfortable. Consistency helps students feel confident and saves you from troubleshooting mid-lesson.
Wrapping up lessons
How you end a class matters just as much as how you start it. A clear ending helps students feel they’ve achieved something and gives them a reason to come back.
- Review objectives:
“Today we practised past-tense questions – you used them really well in your role-plays.” - Leave space for questions:
Give a short window at the end for anything students want to clarify or ask about before they log off. - Finish on a positive note:
End with encouragement, a quick laugh, or a short reflection activity. Even a simple “Well done today, you all made great progress” sends students away feeling good. - Preview the next class:
“Next class, bring a story about a travel mishap – we’ll work on narrative sequencing.”
Final thoughts
Online teaching isn’t a different profession – it’s the same core skills, adapted to a different space. With clear routines, conscious engagement, and a reliable tech setup, you can make online classes just as effective – and, in some ways, more flexible – than face-to-face lessons.
Read next: If you’re weighing online versus classroom work, start with Teaching English Online vs In-Class: What’s Different and What to Expect.